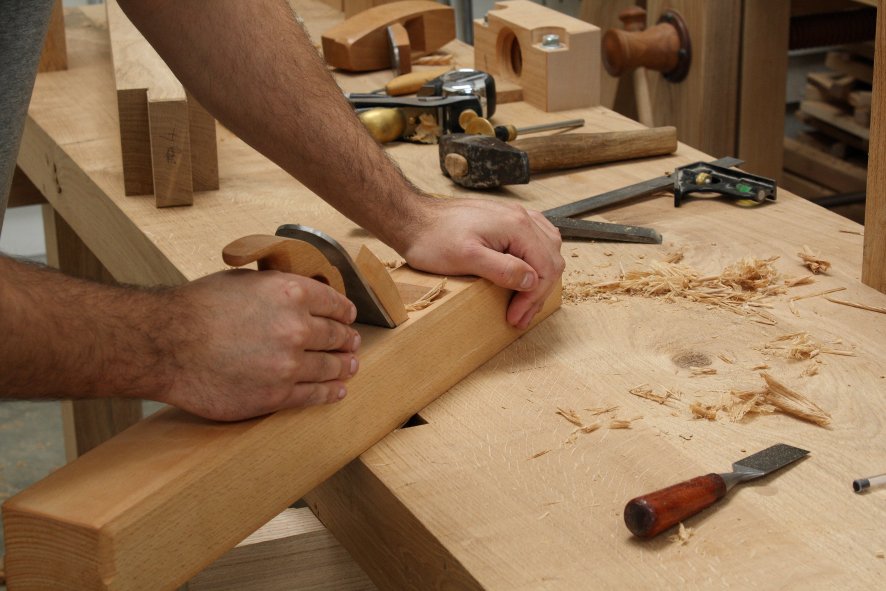
Once the top had been glued together and fully cured I removed the clamps and left it one side to allow it to stabilise. I don’t know the exact reason but after such a large glue up the top can be quite unstable for a short length of time so I give five days or so for it to settle, this also lets me monitor the glue lines which if were at any fault would have failed within this time. After throwing the top back on to the trestles it was time to give it a rough flatten. I made sure to transfer my location lines for the loose tenons within the top on to the edge as they would be removed during planing. I tend to flatten before pegging the loose tenons as the end grain of the pegs would otherwise disrupt the momentum of my plane on the initial heavy passes. I flatten the underside of the top first and don’t go to any extremes however on the top face I do my best to get it as flat as possible at this stage so that I can monitor how much movement occurs before the final flatten and also as I like to do the bulk of the planing with it on my trestles where the low height is far more suitable than the varying heights of customer’s bases.
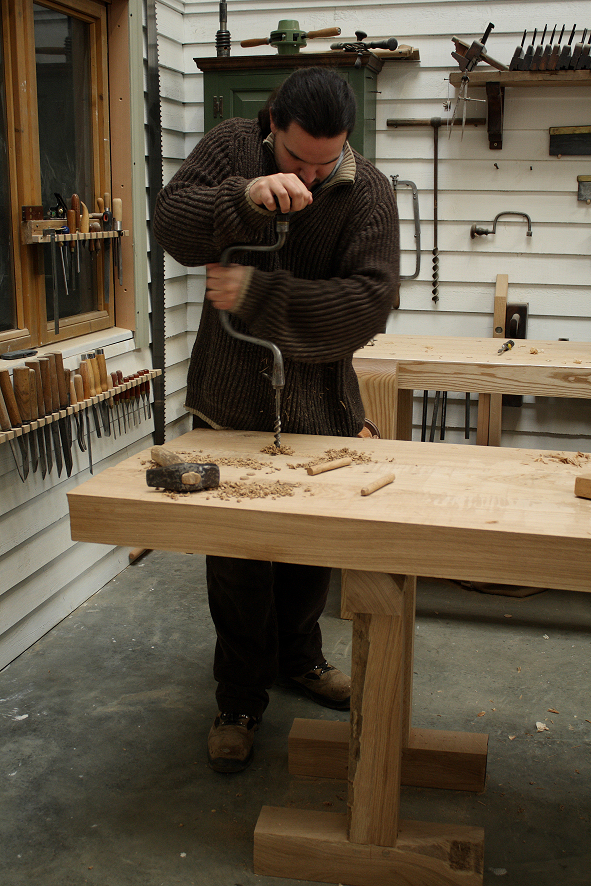
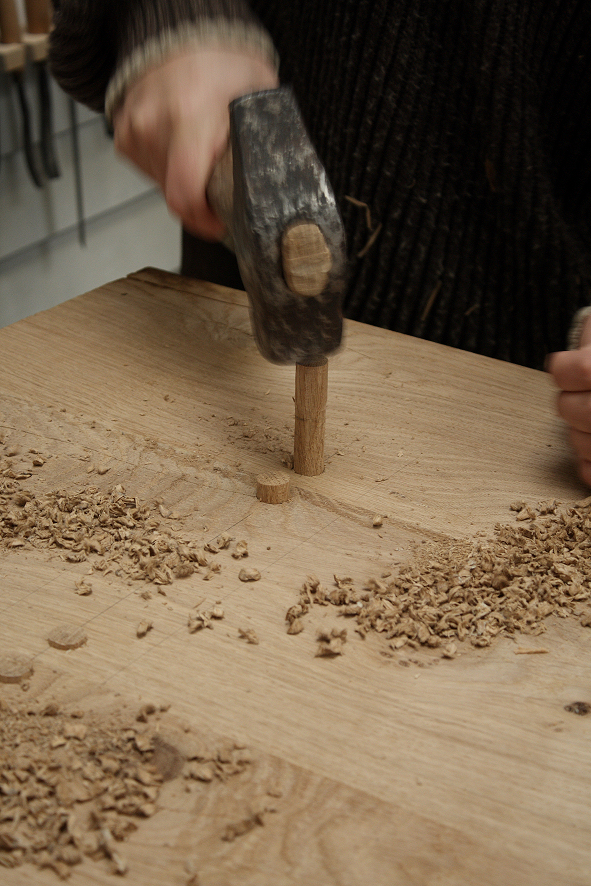
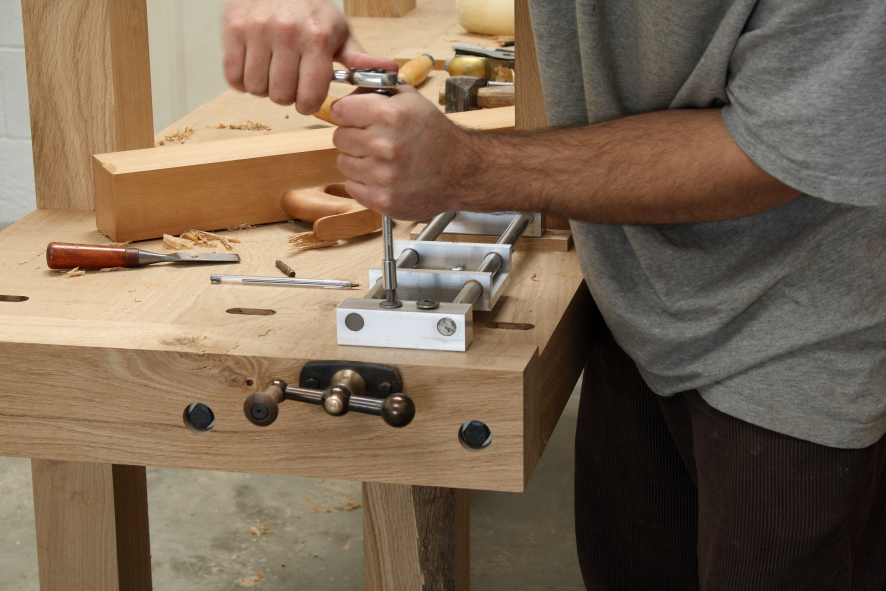
After a bucket of tea and half a pack of ‘HobNobs’ I moved on to getting that top finally pegged together. There’s really no rocket science here, it was just retransferring the lines to the top before boring out the holes by eye with a brace straight through the top and then whacking in some riven pegs. I make the pegs by knocking them through a slightly larger hole in a dowel plate than the holes that I bore and then taper each peg with a block plane trying to make a more octagonal shape than round. When I clunk it in to the hole it tightens the further it goes in and the sharper edges of the octagon dig in to the wood slightly to lock it. I don’t draw bore the joints here as I would be a great faff to line up and would only assist during the glue up which isn’t necessary as I had the clamps. Also a draw bored peg here would have been much weaker than this straight through approach.
The next task was another grueller. My hands shook and my knees tremored as I reached for my 30” Diston cross cut in preparation for cutting the top to length. I scribed a deep line across the top with a knife and got to work sawing. Cutting a four inch by two foot top by hand is definitely one of those jobs that sounds worse than it is and as usual it’s the mental block that’s the real challenge. I went to the effort of doing it by hand as I wanted that hand sawn look along one edge but for this bench it didn’t matter if I stared at it with both eyes or just the one it didn’t look quite right so I planed the saw marks out with a block plane.
At the wagon vice end the top needed a full length tongue routing on for the end cap. It’s a simple, boring, dusty job; clamp on a straight edge and rout both sides to create a tongue and then saw it off to length. I then a routed a mortice in to the end cap and fine tuned the joint with a plane and chisels. Before fitting the end cap I had to carefully bore out all of the holes for accepting the wagon vice and then attached it with bolts, sitting the nuts within slots on the underside of the bench top. I never use lag screws with a vice like this as over time it would fail.
As the twin screw face vice is attached to the top I like to mop this up before starting on the base, there’s nothing nicer than knowing that all of the fiddly work is done! I fitted this with my usual method, bolting the wooden nuts to the top and tapering the jaw etc. There are a tremendous amount of processes in fitting one of these vices and as I get a lot of questions on this I hope to give further details in a separate dedicated post. 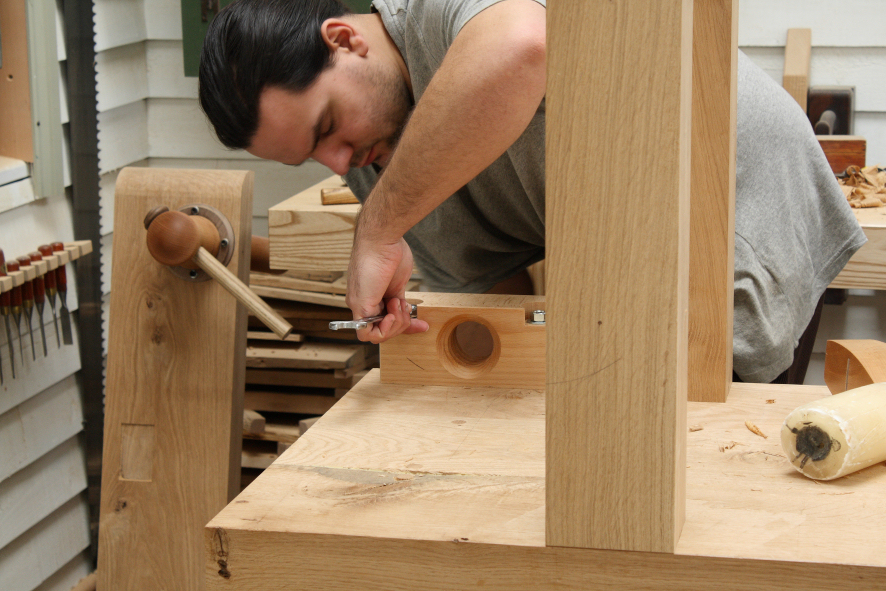
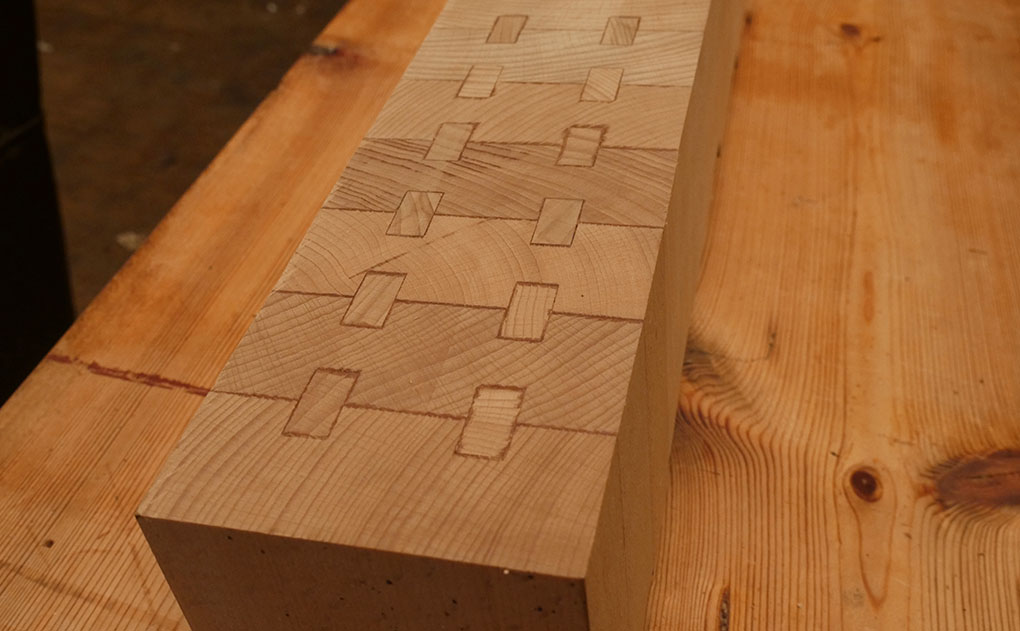
As the bench was to be built in the’ true French way’ there would be no top rails in the end trestles and instead the legs would be mortice and tenoned directly in to the top. This sounds a little like a disaster as the top will shrink and expand blagh de blagh… but it isn’t as the legs will instead pivot on the bottom rail which if anything will strengthen the bench with age. It’s for this reason that I go to such lengths to reinforce the top with all the pegs as unlike any other top that just sits this will be put under load and I feel that if I relied on glue alone then the joints could fail over time.
The French bench is a very clever design. A bench that gets stronger over time is surely the work of genius although my gut says that the birth of this design didn’t plan with this strengthening in mind. Again you will have to wait for a future post for my theory on this.


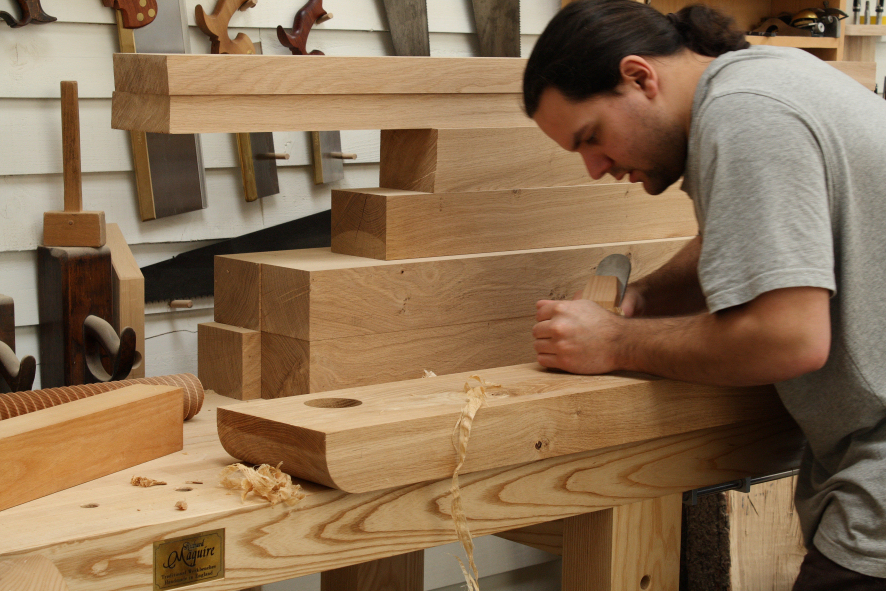
For my bench I marked out the four mortices in the top ready for the tenons on the legs. I bored out as much of the waste as possible and chiselled them clean, you surely know the routine by now. I cut each leg to length on the chop saw taking in to account the length of the tenons and as I didn’t have equipment to cut tenons of this size I just did them by hand. I don’t ever mind cutting tenons as they don’t take too long. I scribe round the leg to mark the shoulder out making sure the line is deep, then I saw the shoulders right to the line and cut the cheeks. I normally like to split the cheek off with a chisel then plane to the line but the grain here looked a little wild. I cut the tenons a little oversized and then planed them down as I wanted a snug fit.

A quick flip over of the top and I can plane flush the face vice jaw and end cap.
![Simple Work Holding For Ploughing Grooves [Without a Tail Vice]](https://www.theenglishwoodworker.com/wp-content/uploads/2022/07/workholding-without-tail-vice-copy.jpg)
![Gluing Up A Workbench Leg [VIDEO]](https://www.theenglishwoodworker.com/wp-content/uploads/2022/06/gluing-up-a-workbench-leg-video.jpg)

It’s great to see how much of your work is done with just hand tools, Richard.
Cheers,
Paul
On “the oak artisan” part four you talk about pegging the top together. In the picture it looks like you are putting pegs on each side of the glue line. Is that right? If so , what does this do? I’m sort of knew to hand tools and trying to make a bench for myself and just found your website. Beautiful benches by the way.
Thanks
Scott
Hi Scott, yes the pegs are put in either side of the glue line as you noted and if you check back to this post https://www.theenglishwoodworker.com/?p=105 then their purpose will be easier to see. Inside the top are several loose tenons that have been pushed in to mortises, like with the joinery in the base the pegs go through the tenons and add a lot of resistance to the joint pulling out. Please bear in mind this is definately over kill, especially if you’re building your first bench.
Maybe I should detail a starter bench build soon?
Thanks, Richard.
A stater bench would be great! The benches you build represent years of experience and a bit overwhelming for the beginner. While I would love to build one like yours it would just deflate my confidence. But just the same I find your site inspirational. I definitely appreciate the work you do. Thanks.
It’s great to provide some inspiration but I know just what you mean, this kind of bench build isn’t for the faint hearted. We can confirm our plans to create a good starter workbench, I can’t say exactly when it will be but we are looking to film it.
Many thanks.