Learn How to Build a Chair
– Online Video Series
We’re designing & building our chair using only basic methods and basic hand tools.
Follow Through the Design Process, & Learn to Build A Chair With Basic Hand Tools.
Watch online & learn how to build your own chair.
Watch the intro below
Seeing the tight joints coming together and the chair taking form, I’m now eager to build it.
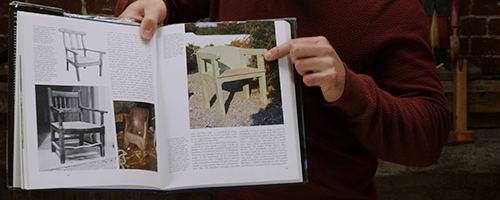
Your videos are not only a great source of inspiration, they are a great source of motivation.
– Daniel D.
In our latest Series we’re learning how to build a chair with only basic techniques & basic hand tools.
This is a practical introduction to chair building but we’ll still be building a piece to be proud of. The chair will be strong, attractive and comfortable.
Prior to the build we’re going through the entire process of design. You’ll be able to input your thoughts to alter this build, and more importantly you’ll learn the skills for designing your own furniture, whatever the piece.
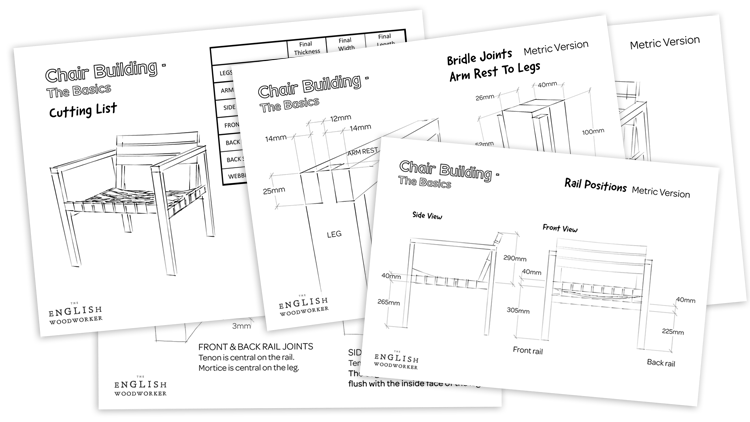
The PDF Plans are Now Available!
How To Build A Chair – The Basics
ONE TIME FEE
Only £35.00
Lifetime access to the full series (all content + PDF plans.)
That is just an awesome lesson!
I watch a lot of woodworking videos, but I have never seen much about this part of building a piece. I have a lot to digest from this, the very fine use of planes, making dowels, drilling for them, the glue up with purpose made clamp blocks, and so on. Maybe best of all I got a real understanding of how well crafted the individual components can be. I am far, far from being able to match that craftsmanship. I really need to slow down and be more careful and precise…The production is top self as always. It makes these a pleasure to watch.
– Mike.
How To Build A Chair – The Basics
The Full Details
Watch Online | Stream & Download.
This Series is now complete. 14 Chapters, almost 6 Hours HD footage.
Chapter One: The Design Process. Pt 1.
15 mins.
Design can be intimidating and difficult to quantify, so the start of this Series is being dedicated to breaking down the design process.
With this chair build we’ll be going through this entire process together throughout a number of videos. All of your input will be taken on board and we’ll make some conclusions on the final design.
This will be put in to PDF plans for you to follow, and we also encourage you to make your own customisations or incorporate the rule set in an entirely unique way.
Chapter Two: The Design Process. Pt 2.
21 mins.
Once An Idea Starts To Form, We Need To Bring Our Concept To Reality.
We go through an overview of the steps I take to get a design idea from my head, on to paper, and in to a prototype. This is provided as a guide for any furniture item, and in the next Chapter we move to the specifics of our own chair design.
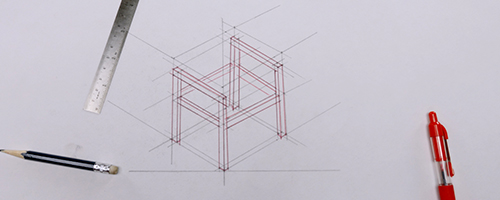
Chapter Three: Isometric Drawing.
25 mins.
We’re Starting To Work On The Design Of Our Own Chair.
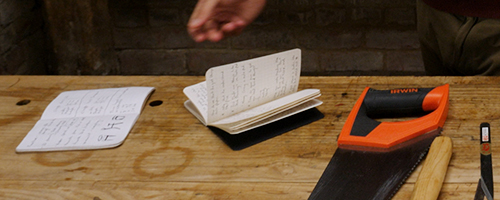
The rule set is clear, so it’s time to start visualising our chair design. We take some time to learn the process of isometric drawing. You can even sketch these out in a notebook so it’s a very valuable yet simple skill to learn for any design work. The aim at this stage is to draw the basic form accurately to scale, so we can continue our work on the design.
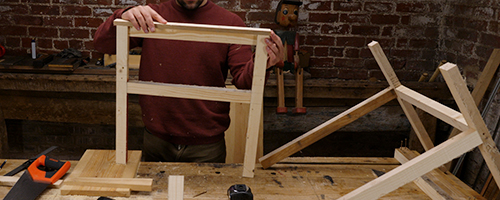
Chapter Four: Starting To Prototype.
21 mins.
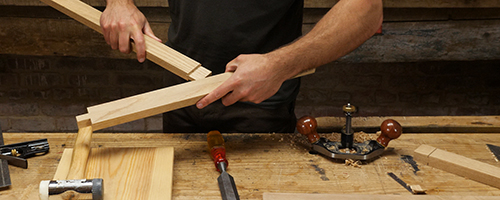
Prototyping Is A Tool For Answering Your Design Questions.
We’re building our design to full scale, but this is for visualisation only so it’s essentially some sticks of wood screwed together. The idea with a prototype is to build quickly, and in a manner that can be manipulated and provide swift feedback through the changes you make.
Chapter Five: Fettling The Prototype.
16 mins.
Our Prototype Is Now Used To Identify & Solve Problems With Our Design.
There were three problem areas with the design that needed to be addressed, so we discuss the cause and possible solution for each. At this stage we’re honing in on a fully functional design for our chair, but it’s a good time to take a break & allow your ideas to fully mature.
Chapter Six: Comfort & The Final Design
19 mins.
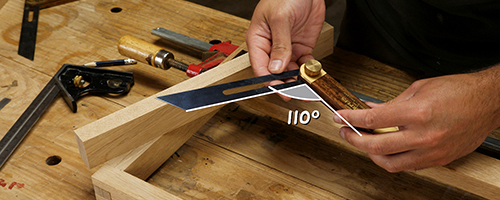
It’s Not A Good Design Until It’s Comfy.
As we make the final tweaks to our prototype we’re putting the focus on comfort, & showing how a prototype can be used to get all of those angles and tensions right for that perfect chair. There’s been some simplification to the design itself, so we discuss how & why the final decisions were made.

Chapter Seven: Getting Prepped
36 mins.
We’re Building With Oak From The DIY Store
With this entry chair build we’re using materials that are readily available, so the wood is pre-planed & bought locally off the shelf. Pre-planed timber brings it’s own challenges as it’s rarely straight, flat or accurately dimensioned. We learn how to deal with these difficulties as we make a start on building our actual chair.
Chapter Eight: Cutting The Bridles.
30 mins.
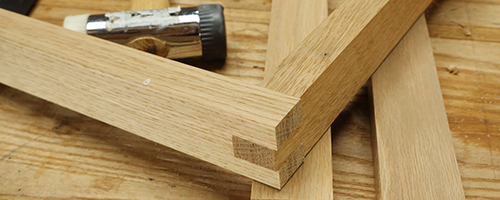
Our Joinery Needs To Be Mechanically Strong, And Beautiful
Whilst this build will be basic, we need to ensure we’re building a chair to be proud of. That means a well built piece with attention to detail. The armrests & legs are to be joined using a bridle joint, and to ensure maximum strength this has to be cut perfectly. We knock up a quick guide from some scraps which allows us to get the joints cut quickly, accurately, and all with a cheap hard point saw.
Chapter Nine: Morticing.
30 mins.
We Cutting Mortice & Tenon Joints To Connect The Rails
We have two sizes of joint in this chair; one is shallow and wide, the other is deep and narrow. The deep ones can be awkward and I like to use a technique that ensures we get to full depth in one pass, which gives a neat and accurate mortice.

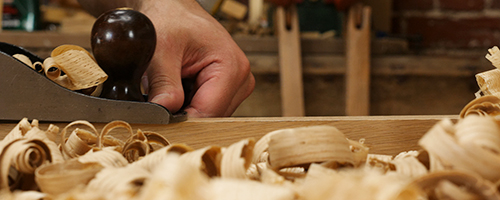
Chapter Ten: The Tenons
24 mins.
Tidy Shoulders Are Required Here
The open frame of this chair means our joinery will be seen from all angles so we want everything to be crisp and neat. We’ll also take care to mark accurately as we need matching rail lengths to avoid any wobble or weakness. Despite the neatness we can still cut these tenons with a hardpoint saw and basic chisels. A router plane is a great help for fine tuning the fit though not essential.
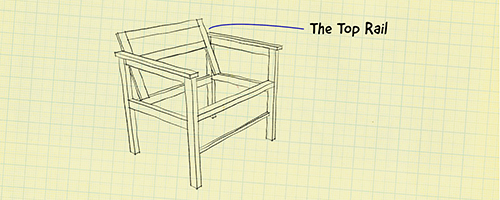
Chapter Eleven: The Chair Back.
40 mins.
An Extra Rail Provides Rack Resistance
We want a strong chair that won’t rack with the force of being sat in. A small rail will do the trick as long as the joinery is chosen wisely and cut accurately. Before the frame can be assembled we need to prepare for the angled back so we carefully mark out and get it all drilled.
Chapter Twelve: Gluing Up.
21 mins.
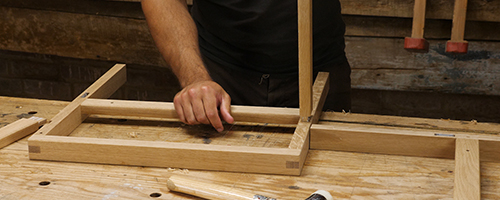
It’s Time To Bring The Chair Together
Before gluing up we go over with some final details and ensure that all of our joinery is perfectly tuned. The glue up itself is completed in two stages so we can clean up and flush off some joints in between.
Chapter Thirteen: Clean Up, Oil & Design Chat
32 mins.
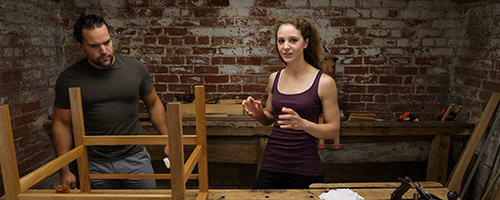
We Apply The Oil & Discuss The Final Design With Helen
Several coats of tung oil build up to create a deep & protective finish. We bring Helen in front of the camera to input some thoughts on the design process.
Chapter Fourteen: Weaving The Seat.
17 mins.
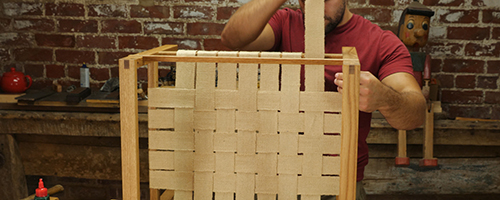
To Complete The Chair We Weave The Seat & Back
As this is an introduction to chair building we opted for a simple and fast weave for the seat. It’s effective, contemporary and very easy to carry out. Keep an eye out for variations as Richard now plans to build a few more chairs exploring this theme.
How To Build A Chair – The Basics
ONE TIME FEE
Only £35.00
Lifetime access to the full series (All videos + PDF plans)