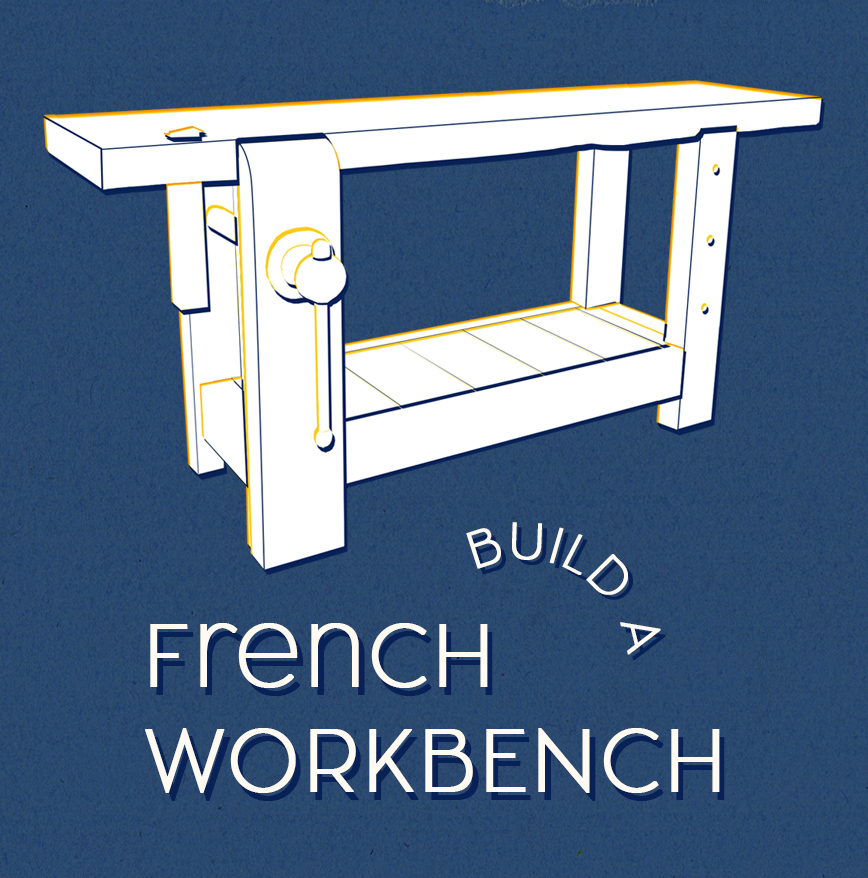
Build A French Workbench
… follow step-by-step with basic hand tools,
& build a workbench for life.
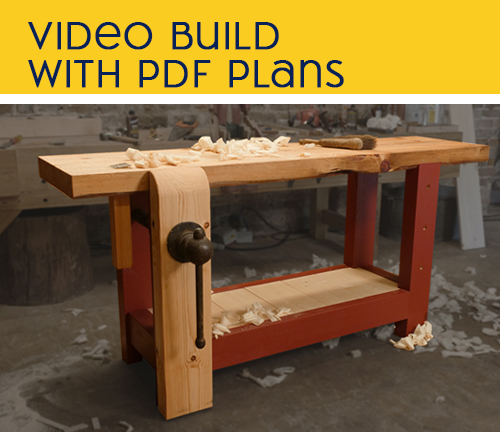
Watch the videos, follow the PDF plans, & build your own traditional workbench.
Watch the Trailer below
Build A French Workbench
Watch Online | Stream & Download.
The Series is Now Complete!
Series Includes full PDF plans.
Build A French Workbench
Only £35.00
Lifetime access to the full series & PDF plans
These are by far the best woodworking videos I have encountered…
– J Skuce (Testimonial from previous series)
As a not entirely new to woodworking hobbyist I really like Richard and Helen’s refreshing approach…
No nonsense, hand tool pragmatic, simple but beautiful and useful furniture, made not entirely out of hard to get exotic lumber, but with pine with the occasional knot.
Inspiring & fun!
– Jerker K (testimonial from previous series)
Build A French Workbench
The Full Details
Immediate Access | Watch Online | Stream & Download.
Over 3 hours of HD footage | 7 Chapters
Chapter One: Prepping The Top
32 mins.
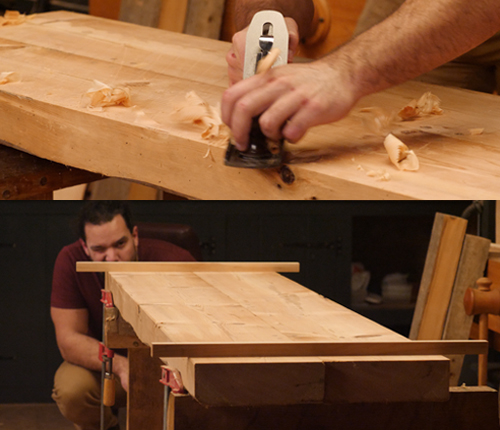
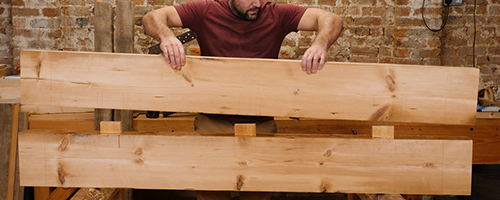
We’re planing up the wide slabs for our top .
This workbench build starts out with a couple of wide slabs which we’ll glue together. We true up the top surfaces to remove the majority of twist, then work methodically through preparing the edges for glue up. This is a hefty edge joint so we need to ensure the slabs are finely mated together.
Chapter Two: Gluing The Top
25 mins.
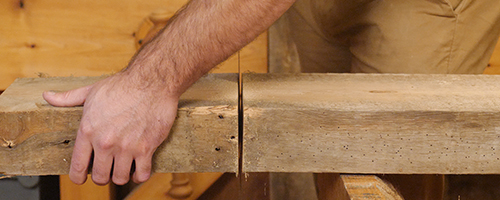
We’re adding loose tenon to reinforce the edge joint.
With a large edge joint like this I consider mechanical reinforcement to be a must. Loose tenons are cut and fitted in to mortices within the top’s edge joint. Once the slabs are glued together we drill and peg to lock it all in place.
Chapter Three: Completing The Top
21 mins.
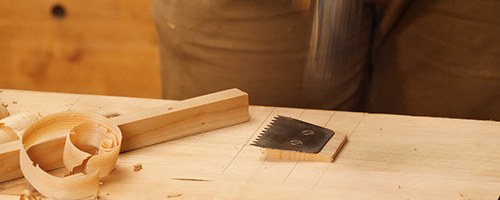
We’re flattening the top & adding a planing spike.
With the top out of the clamps we can finish it up by giving it a flatten. This is achieved with hand planes, and whilst we’re truing the surface here we aren’t yet aiming at the final finish. A planing stop is made and installed as a means for easy workholding when the workbench is in use.
Chapter Four: Attaching The Legs
22 mins.
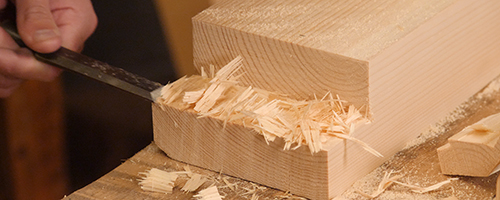
We’re bringing our thoughts to the base as we join the legs in to the top.
The legs of this French workbench are joined directly in to the top using drawbored mortice and tenons. Once the legs are prepped, we mark out the mortices on the underside of the top and get the joinery cut. We also take the time to mark out and drill through for the peg holes.
Chapter Five: Joining The Base
30 mins.
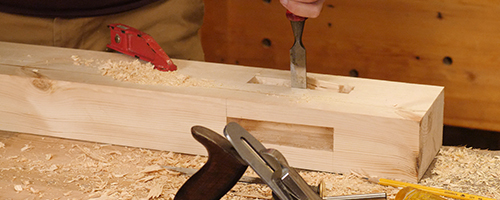
We’re ready to start bringing our base together.
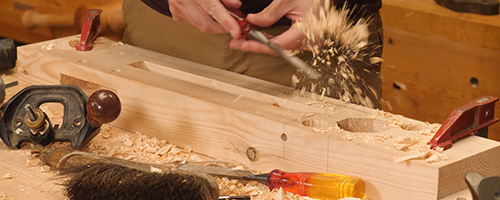
We now have the rails to prep and the joinery to cut within the base itself. We’re using drawbored mortice and tenons here as well, with a slightly different approach used for the thinner long rails than the shorter side ones.
Chapter Six: Vice Prep & Base Assembly
33 mins.
We turn our attention to the vice before the base can be glued together.
We’re building a leg vice with parallel cross mechanism. This requires things to be marked out and chopped from the leg itself. The screw clearance hole is morticed out, although this could be drilled if you have a suitably sized bit. There’s more morticing for the recess that houses the vice cross, and then we’re about ready for a glue up.
Chapter Seven: Completing The Bench
29 mins.
It’s now time to complete the workbench!
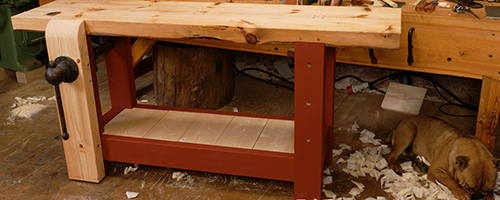
We finish up the leg vice by accurately transferring the screw location to the jaw itself and getting this chopped out. We can then install the garter and add a bit of shaping and suede. We do some finishing touches to the planing spike and bench top before applying the finish and bringing it all together. As a final job we install a shelf.
Build A French Workbench
Only £35.00
Lifetime access to the full series at the introductory price.
