This Build is an Exercise in Precision!
[A total of over 8 hours of video broken into 11 chapters, which take you step-by-step through the build, including how to build the ‘hand plane thicknesser’ jig. ]
Watch the intro above.
The series is now complete and full details can be found HERE.
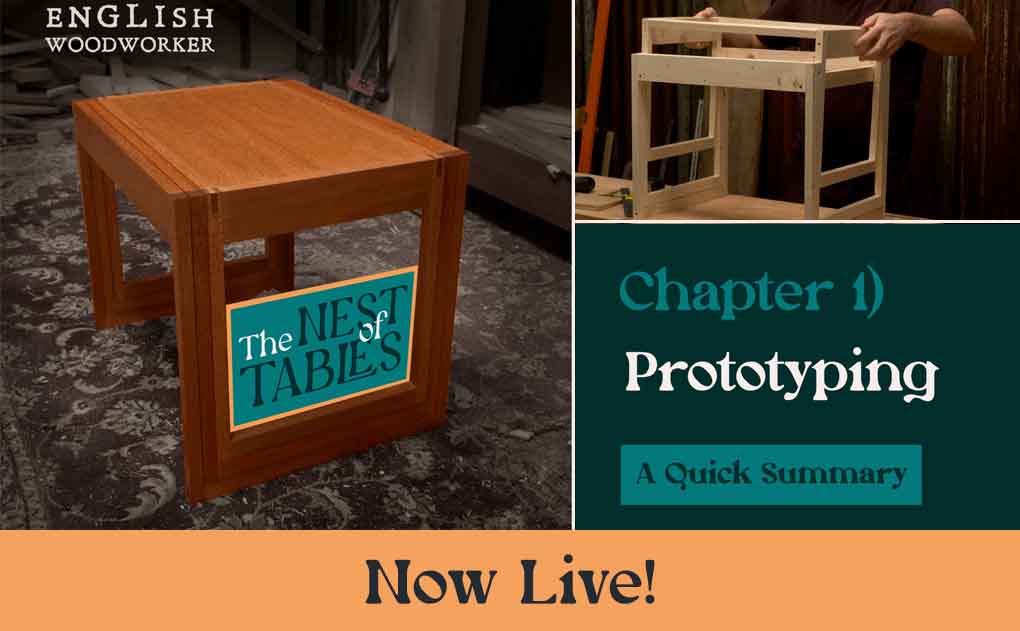
These are not your average nest of tables – we’re working with very tight tolerances.
Nests of tables can be incredibly practical.
And they’re a great project to build because it’s pretty easy to squeeze them into the house and put them to good use.
But I’ve never really found a set that I like. They’re one of those rare pieces of furniture that have multiple forms, and often the design misses the mark when they’re together, and at least one of them looks well out of proportion when they’re apart.
I quite fancied a set for my own home, so I set about the challenge of coming up with one that I actually like.

They turned into a fairly extensive build with some interesting challenges to overcome.
We’re working by hand, but this is one of those projects that calls for absolute precision at every step so we couldn’t use any of our usual hand prepping short cuts. So we though we’d introduce something new.
A ‘hand plane thicknesser’. This simple jig allows us to whip through the prepping with incredible speed and greater accuracy than you could hope to get from most machines.
The repetitive size between most components in this build makes it a perfect project for giving the ‘hand thicknesser’ a go.
These tables all need to slide together like beautifully fitted drawers.
So not only do we need to build them to a tight tolerance, but we need to take steps to ensure that they stay that way.
This gave me a bit of head scratching when it came to the tops and planning in for timber movement.
I opted to approach this by scratch building some block board panels.
It worked out well and was a great way to make the most out of limited wood, although it did require the use of a bandsaw for ripping.
If you’ll not be using a bandsaw then I’d suggest sourcing some precut veneer, or opting for a decorative pre-made blockboard or ply.

The Nest of Tables Design
These tables are inspired by a retro piece that I recalled from memory.
The smallest table has a slightly different design from the larger two, and they slot together to become one streamlined form.
I opted to build mine from some reclaimed wood that I’d been holding on to for quite some time, but of course you can go with whatever you fancy or have to hand.
The Hand Tools
As usual the videos focus on going step-by-step through the build using hand tools, & our basic kit will cover your needs, with just a few extras to consider.
Along with the hand tools I make use of my bandsaw for ripping the blanks out of large rough sawn boards. There is no reason that you couldn’t use a hand saw instead for the ripping – especially if you’re working with new wood.
The tool kit includes:
- The usual marking & measuring tools.
- Joinery Saws. For ripping and crosscuts.
- A Jack Plane. (Different irons may be required for roughing & smoothing).
- Chisels. Strong bevel edge for morticing, plus for paring and fettling.
- Router Plane. Optional, but highly recommended.
- Fillister Plane. Could be replaced with a shoulder plane.
- Plough Plane. Could be replaced with a chisel.
- Mallet | Drill (I opted for electric) | Clamps.
The Techniques
We show the full build from rough board to finished nest of tables.
Along the way we go through the build and use of the ‘hand planer thicknesser’.
The joinery includes bridles, mortice and tenons and various grooves and rebates to bring it all together.
The important note with this build is working with accuracy in everything from the prep, the marking, the joinery, and the finishing touches.

The Videos
This is a long build and we’ve divided over 8hours of video into 11 chapters.
The full series is now available, and a cutting list and full PDF plans are also included.
For further details on what’s covered in each of the videos, have a look here.
Not familiar with our Videos?
We make online courses that provide tuition on hand tool woodworking.
The detailed videos can be both streamed and downloaded.
As a professional hand tool woodworker, we aim to get you feeling inspired to build, and equipped with the knowledge to tackle projects entirely by hand.
View our full Collection of Video Series HERE
Or sign up to our Free Plane Build Mini Series HERE


Looks great. Not sure if my skill is enough for that kind of precision unfortunately.
Hi Richard.
Thanks for brilliant design and I look forward to ‘having a go’. Can’t wait!
Will admit to being concerned by the precision initially, but I am here to he challenged and improve. I am now wondering about what wood to use and if contrasting woods would work. Walnut and maple could be nice.
Amazing design 👍 I actually made a similar thicknessing jig a while back and it’s amazingly easy to use. Mine clamps into my vice when in use and hangs on the wall when not.
Michael, I’ve used similar for tapering, but hadn’t really needed one for just general thicknessing. I chucked it out after I’d used it on the project I needed it for, as it was only designed for that purpose. Is your jig adjustable for different thickness, or do you just do a lot of planing to a particular dimension (if you hang on the wall, it suggests that you use it often)?
I always find it enjoyable to watch you working and giving a narrative; it’s good to see you striving for a good job.
Richard
I must say, beautiful precision work.
A pleasure to see you perform, Masterful.
Thanks.
Hi , Richard
It’s great when a see this in me inbox !!
A best have a tidy up and get ready
Keen to see the hand plane thickness in action . Now then just what wood to use ??🤔😀