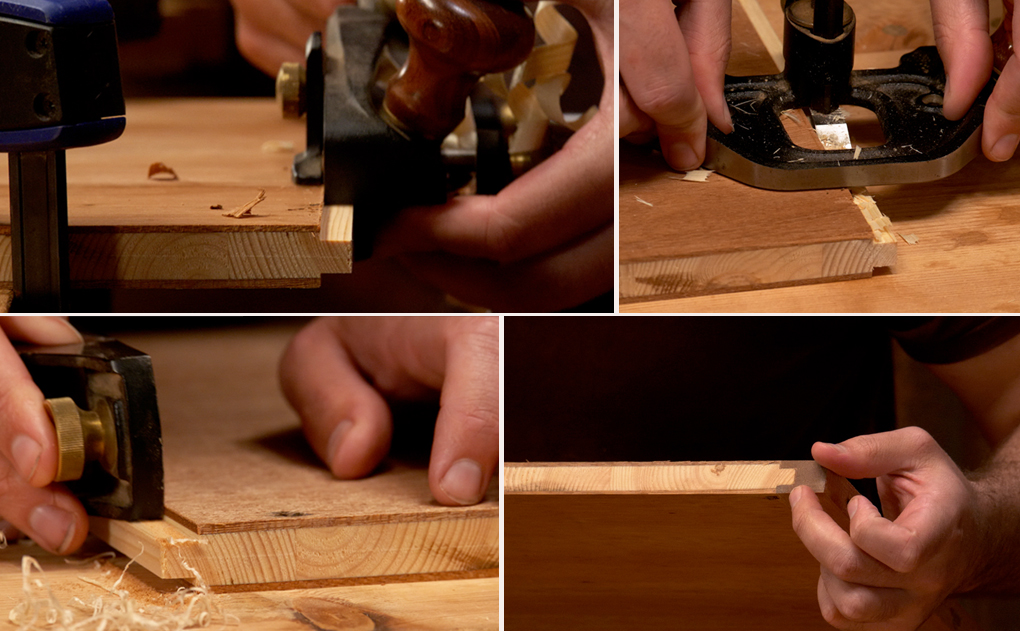
Stuggling With Larger Edge Joints?
Watch the full step-by-step video to learn the edge jointing process for tackling large boards by hand.
A perfect reference for gluing up a table top.
Find it for FREE in our Member Area:
Or Sign Up For Free HERE
Edge Jointing by Hand Leaves Us With Lots to Consider.
- Is the edge square to the face of the board??
- Is the edge out of twist along its length??
- Is the edge bowed or cupped??
And perhaps most importantly, if we’re prepping that edge as a glue joint to connect with another board – do the two edges match up perfectly?
With all that to think about it’s no wonder that edge jointing can leave us feeling a bit like we’re chasing our tail.
This quick video (at the top of the page) offers up a tip for tackling edge joints in a way that will feel like you’re cheating. Rather than having to think about that whole list above we just plonk our board flat on the bench and treat it much like a shooting board.
It means we’re using the bench top and the hand plane as our references, and letting them take over the hard work.
The video offers a few extra pointers to ensure glue ready joints and how to fettle when your references leave things out of square. (Learn more about iron cambers HERE)
This approach is perfect for small pieces, and can even work for fairly long lengths where the boards are relatively thin.
For thick, hefty boards it does reach its limit though. So when it comes to prepping the edges for gluing up something like a table top there’s no way around having to fine tuning your approach and understanding for edge jointing in the more conventional way.
To assist you with this we’ve added a full 46min video to our Member Area that you can watch right away for free.
It’s a step-by-step detailed work through of edge jointing the large boards from within our Trestle Table project. We go from rough edges to straight & twist free, & then fine tune the fit between the mating glue lines.
Login to Watch
Or
Sign Up For A FREE Account Here


![Which Saws Are Best For Ripping Thick Stuff? [Video]](https://www.theenglishwoodworker.com/wp-content/uploads/2022/12/what-hand-saw-is-best-for-thick-rip-cuts.jpg)
![How do I Sharpen a Router Plane? [Q & A Video]](https://www.theenglishwoodworker.com/wp-content/uploads/2022/11/how-to-sharpen-a-router-plane-video.jpg)

![Quick Homemade Clamps – Small & Large [with video]](https://www.theenglishwoodworker.com/wp-content/uploads/2022/08/how-to-make-your-own-woodworking-clamps.jpg)
So simple
Thank You
Do you normally do this operation with the plane on the far side of the board where you have to reach over it, or was that just a concession to the camera angle?