[youtube https://www.youtube.com/watch?v=PCX6RZGmiRE]
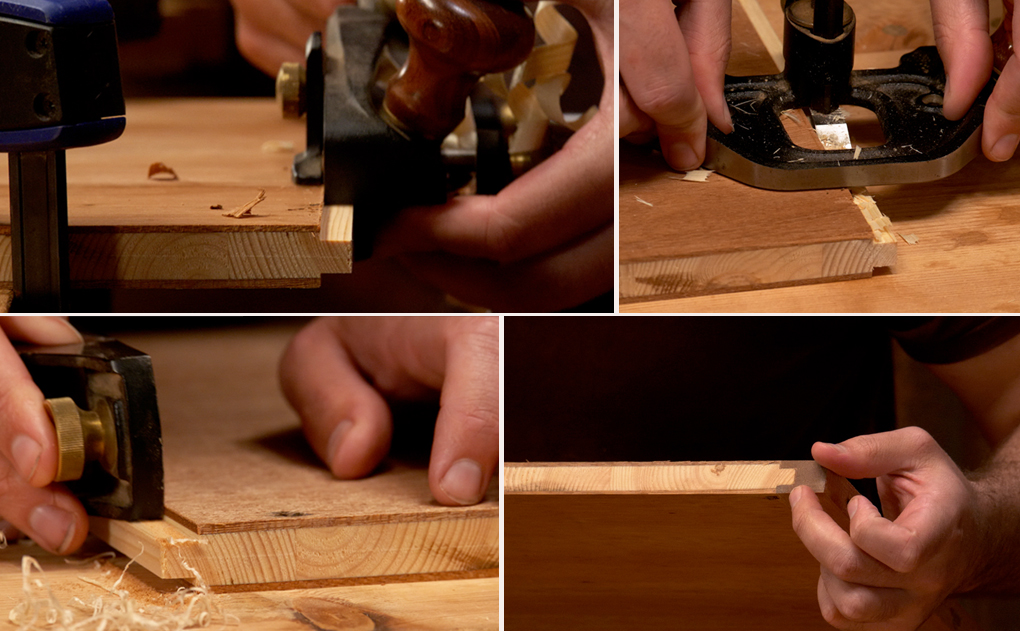
In our current project, The Small Wall Cupboard, we use the rebate joint as the main method of joinery. In this video I show you an alternative approach to cutting the rebate joint by hand with only the very basic of tools.
As I mention in the video, this isn’t the text book approach to cutting these joints but when we start out with hand tools chances are we won’t have every tool right away and a specialist fillister plane may be last on the list. It’s good to go right back to basics sometimes, to sharpen your skills with basic joinery and control of your hand tools, so we can create just as good results in a less than perfect set up.
I split down to remove much of the waste from the cross grain rebate joint. This is a very fast and effective approach to many situations so it’s worth getting in some practice for a feel on how the grain behaves in different woods and circumstances. We will be making a separate video on this topic to cover things in more detail and show how to go about it when the grain runs down towards your marked lines.
In the rebate joint going along the grain I use a shoulder plane to clean up the bottom. I would like to add that this could also be achieved by paring down with a chisel if you really wanted to keep tooling to the absolute minimum. I do consider a shoulder plane to be amongst my essential tools though, and it will be just as useful whether you opt for wooden or metal. It’s an extremely versatile tool which will see a lot of use.
Part One of our Wall Cupboard Video can be viewed here.
Moving On: Learn to Set Up A Fillister Plane For Cuting Rebates
Read our guide for setting up the fillister plane
[vimeo 137222861]

![Which Saws Are Best For Ripping Thick Stuff? [Video]](https://www.theenglishwoodworker.com/wp-content/uploads/2022/12/what-hand-saw-is-best-for-thick-rip-cuts.jpg)
![How do I Sharpen a Router Plane? [Q & A Video]](https://www.theenglishwoodworker.com/wp-content/uploads/2022/11/how-to-sharpen-a-router-plane-video.jpg)
![Bench Top Edge Jointing [with Video]](https://www.theenglishwoodworker.com/wp-content/uploads/2022/10/bench-top-edge-jointing-video.jpg)

Excellent, good job Richard. 😉
Great video mate. More please!
Well done Richard, ( and of course Helen ) good of you to take the time and cover the basics. Thanks.
Thanks Ken, Patrick & Keith, don’t worry we’re working on the next!
Nice one Richard,
Nice one son
Nice one Richard lets have another one.
Keep them coming we are all hungry for more
Loving the poem David! 😉
Awesome technique! I had never seen that technique for cutting along the grain. Very cool! I have learned some cool things from your blog/videos. Do keep them coming.
It is very encouraging to see people showing what can be done with some basic tools and skill that can be learnt. It’s good to know that you don’t really need fancy tools to do very satisfying woodwork. People who know how to get the most of simple tools (as it was the case before the invention of power tools and gizmos) are doing a great favor to everyone in preserving and spreading of craft and skills.
Kudos!
Hi Phil, fancy tools can be great time savers and I certainly enjoy using a few of my own but I do think that you can become more versatile by mastering the most basic of tools first. Once you’ve got to grips with these you can put them to use for all different situations.
Now THAT is a chisel mallet. Is that a blacksmith hammer? Great video…thanks for posting it.
No… it’s Thor’s hammer! Well no you’re right, I think it is a blacksmith’s hammer. I wrote a little post about it sometime ago: https://www.theenglishwoodworker.com/?p=689
This is wonderful addendum. This series is going to be the perfect link to share with budding woodworkers. Looking forward to seeing the rest!
Great video as usual Richard. Many thanks.
Sometimes it’s easier to buy more tools than learn to use the ones you have! That is some pretty impressive chisel work.
My understanding was that the plane you’re using is a rebate (rabbet) plane, and that true shoulder planes are bedded bevel up at a lower angle.
Can’t wait to learn why you don’t like to cut the shoulders with a tenon saw.
when will you come to America? In Atlanta are several woodworking stores that could host a class. Truly, you are a great communicator for understanding woodworking.