 Morticing has never been my favourite job.
Depending on the size of joint I have various techniques that I use, and for hefty mortices like in our French workbench build, I prefer to drill out the waste rather than go at the whole thing with a chisel.
But then I hate squaring up drilled out mortices, particularly when they’re in ash.
Luckily though this bench wasn’t made of ash, so that was something.
My old go to method for morticing when I was building workbenches full time, was to use a pillar drill then a chisel to square them up. That was at least until I was able to put enough fundage together to get a good morticer, and you need a bloody good one when your working in large sections of ash.
As a result of those struggles though, I got pretty nifty at the chisel work.
The Method – Squaring Up A Mortice
To cut these big joints you need to mark out both the walls with a gauge, and knife in the ends.
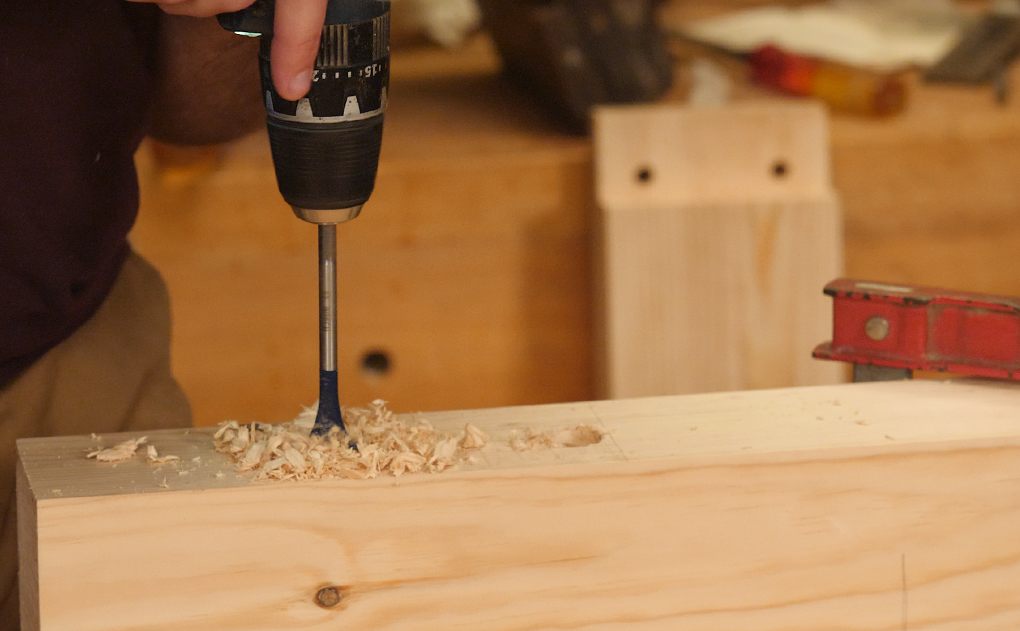
It’s also a good idea to put in a centre line to aid positioning of the drill bit.
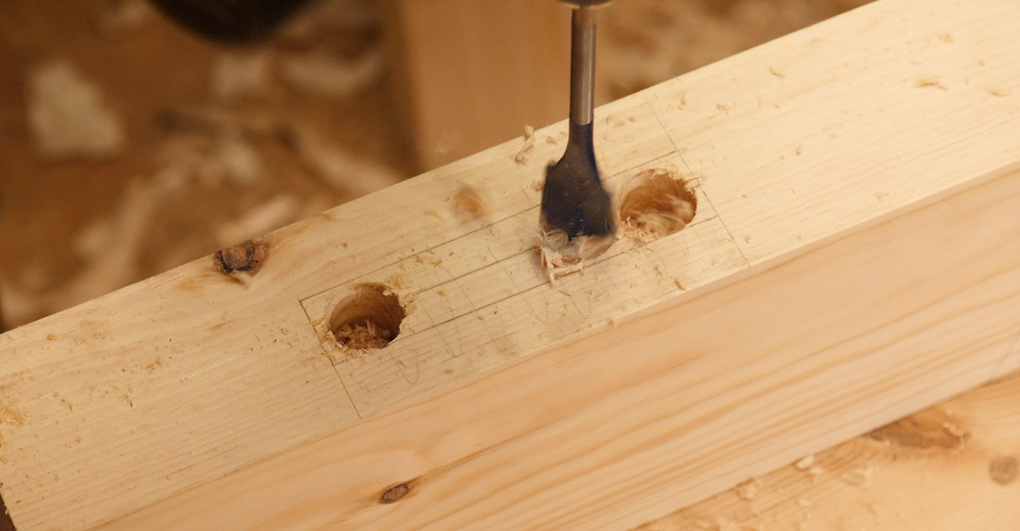 I use a self-feeding flat bit that’s a tad narrower than the width of the mortice, and drill out at each end, coming in about a 1/16″ to a 1/8″ off the knife line.
Then the centre run can be removed, drilling each hole as close to the previous as possible without the bit falling in to the other.
This is the method if I’m free hand drilling – using a brace or power drill.
It’s a little different if you’re using a pillar drill as you can gain an extra level of precision.
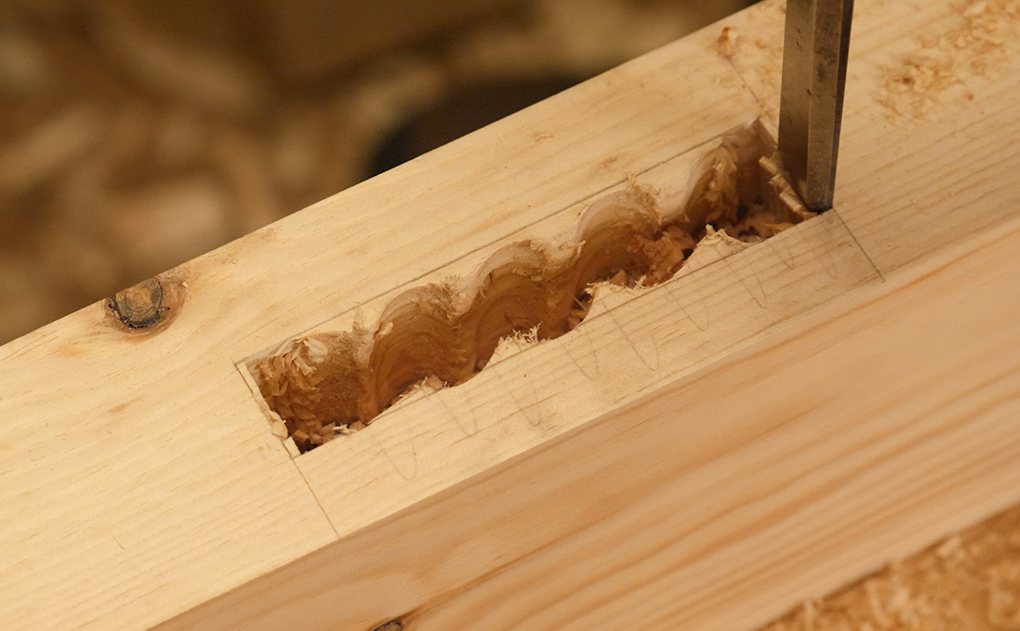
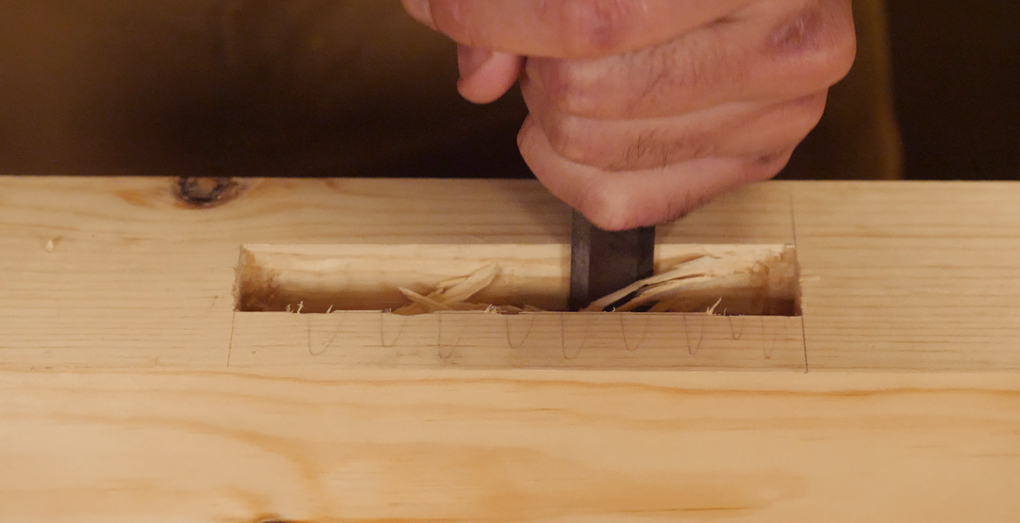
Now we need to square the ends up and take those corners out slightly to meet the wall gauge lines.
I find this best to do with a very narrow chisel, a quarter inch or so. The narrow edge ensures that when we whack, most of it is in contact with something, which prevents that twisting thing that a wider chisel would do.
I take light bites until I’m just off my knife line, but I do try to get it to just kiss the gauge “wall” line.
I do this for each of the four corners.
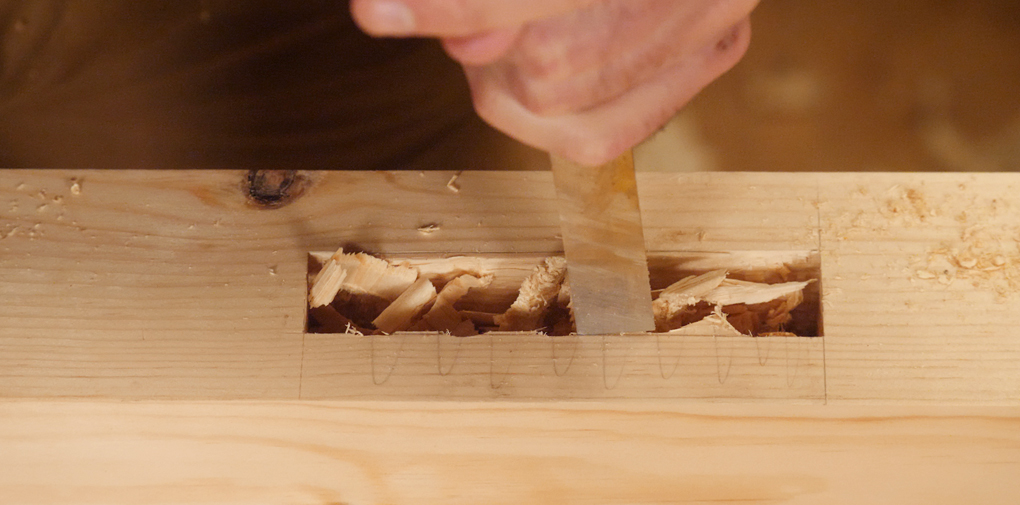
 Now is a good time to clear the obvious chucks out between the holes, so we can get good access to the rest of the waste with a chisel.
I find these bits pop out easily if you just split them out with the grain. I like to pare them back so they’re flush with the holes, which again is pretty effortless since you’re paring down the grain.
We’re now left with a mortice that’s slightly narrower than we need, with corners that flare out to the four points.
We can tackle the ends easily by taking light bites until we can sit the chisel right in to the knife line.
And I sort out the width by going at the walls with as wide a chisel as I can.
Keep taking small bites in one corner until the chisel can sit in the gauge line, I then almost walk the chisel along paring down the wall.
 And that’s it, job’s a good ‘un.
Once you get a rhythm going they don’t take that long.
Interested In Watching A Workbench Build?
We’re now up to Chapter Five in our ‘Build A French Workbench’ video series.
We’ve been joining the base together this week, which has involved a fair few mortices to get squared up.
You can find details for the series here (and don’t forget that the intro price will be ending after the build is completed!)
![Pt 2: Reamers & Tenon Cutters: Use & Applications [Shop bought vs Homemade]](https://www.theenglishwoodworker.com/wp-content/uploads/2026/06/355735B8-6EB7-48E7-8135-A45EC52D5F2F-400x250.jpeg)
![Pt 1: Understanding Chair Joinery: Tapered Round Joints | [ FREE 6 Part Video Course]](https://www.theenglishwoodworker.com/wp-content/uploads/2026/06/D4FD5406-5390-49FC-B939-255EFF4F845C-400x250.jpeg)
![Bench Top Edge Jointing [with Video]](https://www.theenglishwoodworker.com/wp-content/uploads/2022/10/bench-top-edge-jointing-video.jpg)

Now, you’ve got a lot of experience and muscle-memory on this. But for us newbies, would you recommend a squared block of wood clamped down to make sure the chisel goes down straight? I had seen someone else use that method.
I don’t want to answer for Richard, but I do want throw in my two cents worth. First it’s time consuming setting it up, second you need to figure out a way to clamp the block of wood and lastly it will teach you nothing. The best way to train yourself is to place a square and take a plunge, repeat this several times everyday and you’ll be chopping square before the end of the week..
In a number of his more furniture oriented series, Richard uses guides to help with mortises and mentions they also help with square walls. So, why not? Go for it.
Because I find that I have to make everything as idiot proof as possible, I bought one of those automatic centre punch things and I use it to mark the start holes for the drilling positions along the centre line. It really does help keep the drill in the right position i.e. away from the edges.
One question though: while I can see why you would use a narrow chisel to sort out the ends and corners, is there anything which would make you rule out using a wideish e.g. 1 1/2″ to 2″ chisel for the long sides? My instinct is for a wide chisel because it means fewer strokes and therefore fewer chances to introduce error.
Come to think of it, do you regard those right-angled corner chisels as a gimmick or a useful enhancement to the tool kit? They’re quite expensive so one would need to be convinced that they add value before splashing out on one.
Andy, in the above he says “And I sort out the width by going at the walls with as wide a chisel as I can.” Not to worry, sometimes I miss things too b/c of Richard’s accent. 😉
Well spotted. I missed that. That said, it’s not exactly a wide chisel in the pictures. Or maybe 3/4″ is just the widest he’s got!!??!!
Well, in his minimalist essential tool list he says to start with 3 chisels – 1/4, 1/2, and 3/4
Thanks for the help Richard! When I finaly get the shop done and in order this will be much better than listening to the screech of a plunge router and and having the vision blured by a cloud of dust.
Does no one use a traditional mortise chisel these days? Yes they can be a little cumbersome to use at times but once mastered they make short work of chopping out a mortise with a few thwacks with a good heavy mallet.
I have a couple of mortise chisels that I use.. I feel that I can really lean into them if I feel the need. Also can whack them without mercy. I use my bevel edges too, but invariably go back to the mortise chisels.
Richard
Back in the 1800’s the top of the line mortice gauges had 3 pins, 1 fixed and 2 that moved. I set my Howarth gauge up so the middle line is for a matching drill bit. I just workout where I want the centre of the mortice, mark it with a knife, drop the centre pin of the mortice gauge in the mark, set the fence and away I go.
Works that good that I picked up a few more 3 pin gauges and they’ll be setup for different width mortices with matching drill bits.
Peter