This surprised me.
After tarting up some benches recently I had to check and flatten the tops. They all needed just a little skim, which is what I’d expected.
What I didn’t expect though, was just how stable my 12ft English bench top was.
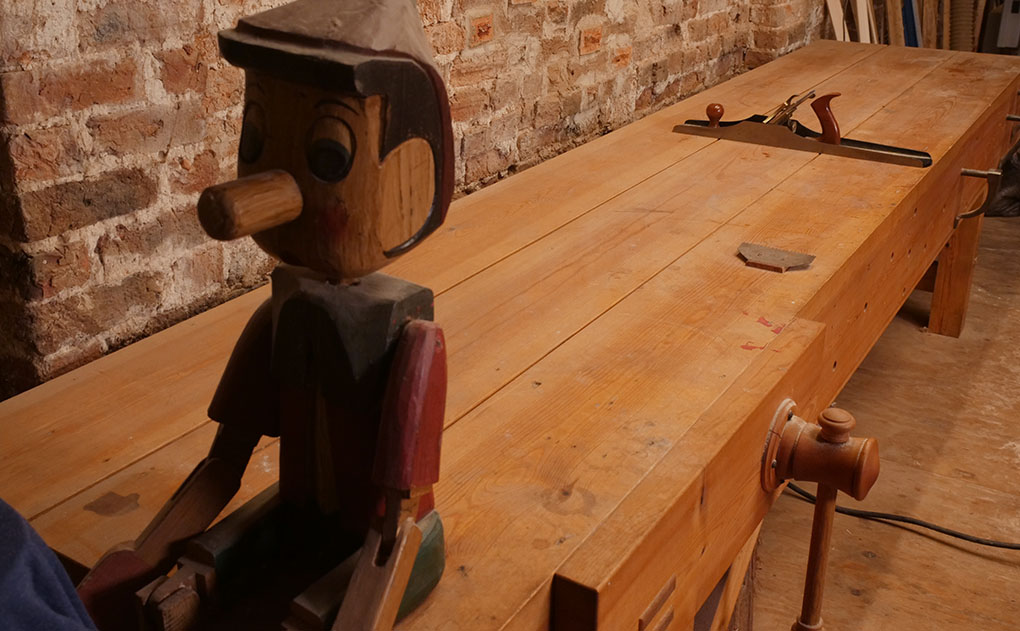
This is a big bench, and the thing has been stored in the most horrendous conditions. It was even outside for a short time. Under a sheet of course.
It’s had stuff spilt on it, and cooked by heaters, but the top has hardly budged since it was made.
The only time it’s been flattened is when it was first built, four years ago. Today it’s still well within tolerance and if it was staying as my bench, I wouldn’t bother flattening yet.

This planked top design is basically the quick and easy option when it comes to building a workbench. So I think it really can go to show that simple is often one of the better choices. Particularly for functioning pieces.
Why is the planked top so stable?
I think it’s all to do with the rib cage below. The top isn’t a slab that’s free floating, it’s fixed down to cross members below it’s surface. Since these run from the front to the back of the bench there’s no chance of this support structure cupping.
The thin, ‘elasticy’ softwood top conforms to these. It’s the combination of softwood, cross members and thin top that makes it work so well.

This isn’t saying that there’s no reason for slab based tops, or laminated ones. It’s more showing that the cheap and easy isn’t always bad.
If you’re planning to tackle a workbench build I’m a big believer in getting the basics right, and not over complicating things.
Have a read through here for some thoughts on choosing the best wood for your build.
And this post gives my thoughts on why you should stick with just one vice.
We also have step by step video builds for both this English style workbench, and the French bench. You can find full details of both below:
![Simple Work Holding For Ploughing Grooves [Without a Tail Vice]](https://www.theenglishwoodworker.com/wp-content/uploads/2022/07/workholding-without-tail-vice-copy.jpg)
![Gluing Up A Workbench Leg [VIDEO]](https://www.theenglishwoodworker.com/wp-content/uploads/2022/06/gluing-up-a-workbench-leg-video.jpg)
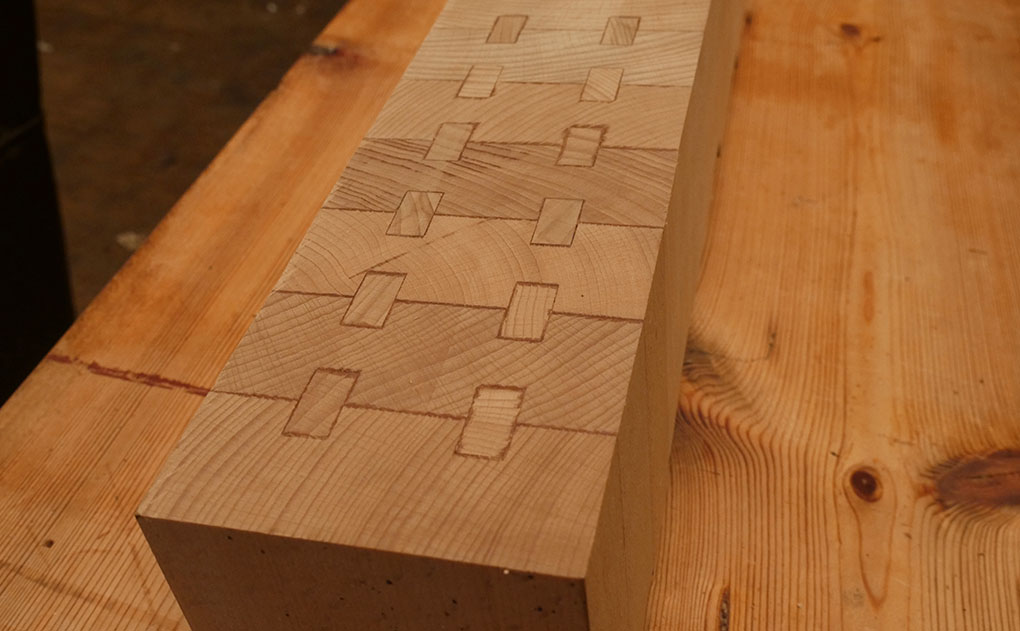

Another benefit of the planked top is that you can fit ‘F’ clamps between the planks to hold work pieces down or as extra clamps for glueing up, without needing to have holdfast holes all over the place
Helpful post, Richard. This is timely as I plan to soon purchase lumber to follow your Nicholson build.
I was considering Douglas Fir for the frame, and maple or oak for the top. Sounds like that’s not necessary, or even recommended? And a Douglas Fir top is a good way to?
I did some shopping around and found that cabinet grade 8/4 red alder from a real lumber yard was less expensive and much flatter wood that any of the construction wood at the big box stores. And almost a year later, mine is in the garage near the garage door and perfectly flat on top still.
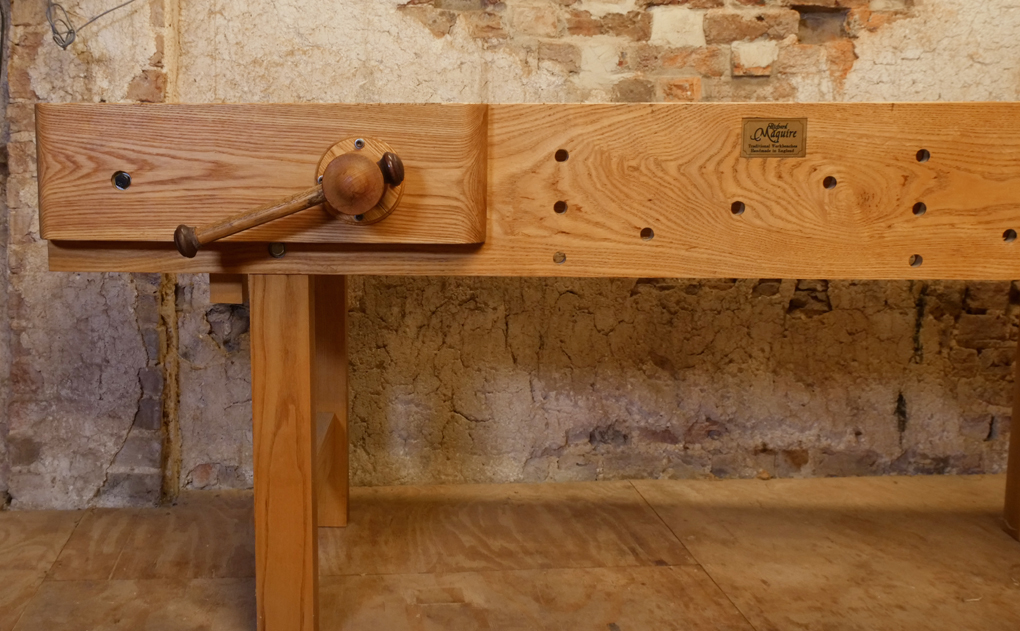
Also worth remembering that your English w/b design has the top sitting on top of the aprons – rather than flush with, and hence constrained by, the aprons, as in other designs. This (plus the nails) allows it to move seasonally without buckling or splitting.
This is one of the main reasons why I used your design as the base for my bench. I made a few changes to make it fully knock-down since I knew I would move one day, and didn’t fancy hauling the thing into a truck (it’s all 50mm ash…). I also made the top in two parts, with a removable piece in-between the two slabs (à la “split-top Roubo”). I suspect that this split-design also helps it stay flat. After 3 years in an partly-open and insulated garage, with all the wide fluctuations of an Alpine climate, it hasn’t moved a millimeter.
Thanks for all the inspiration and guidance!
Charles, I’d love to know exactly how you managed to make this bench break down. Do you have pictures or anything?
Brandon,
Cross-ribs are tapered sliding dovetails. Aprons are wedged into flared housings. Top is fixed to all these, and leg assemblies, with turn-buttons. Planing brace is fastened with threaded/tapped 12mm machine bolts instead of nails (loading is on the joint, not these fasteners, which just stop it falling forward).
Honestly, not that much extra work (though I might have borrowed a friend’s Domino to cut the turn-button mortices…).
Sounds like Charles really knows what he is doing. If you are a beginner and want an easy to follow plan, may want to get ideas from the Siemsen knockdown nicholson bench plans from Lost Art press. That was one of the benches i was initially going to build or get ideas before i went full bore into the english workbench build.
I built my workbench 5 years ago . It was built like yours because that was all the wood I had . I have to agree 100%with you Richard . I check it a couple of time a year and it is as flat as a billiard table STILL . I have abused this bench as well . Very informative post . Mine was built of old growth Douglas fir . It is very hard softwood.
Our local timber merchants only sell treated timber (against rot/insects).Any views on using treated timber for a workbench?
I made this but without the leg vice. I also used old (over 40 years) planks and stayed true to the plan. This is is massively stable. In fact, it is so stable I plan on adding a ramp so I can put my Vespa 125 scooter on the bench to work on the motor.
Works are not just for wood.
I am curious about nailing the top, would that not constrain the lateral movement of the boards and make them split over time? Also when planing, are the nails sunk deep into the wood to avoid your iron cutting into it?
Thanks,
Markus
I built mine of Spanish cedar, because that’s what i could get. I built it along with Richard as my very first fully hand tools project. It’s 2 years old now, and well beat up. I need to flatten it soon, again, for the second time since new.