A video version of this post has been added to our sharpening series.
All ‘Get Sharp’ customers can LOGIN to watch now.
Or You can Learn More about the Series here.
We’ve all done it. Turned a smashing chisel into a left-handed skew!
Getting a 90 degree edge on narrow chisels can be troublesome. Particularly if you’re sharpening free hand.
So I thought I’d give you a couple of tips that may help when it comes to sharpening narrow chisels squarely, (ish) freehand…
The first thing is to understand why you’re struggling.
The ProblemWhen Sharpening Narrow Chisels.
The issue here all comes down to reference, or lack of it.
A narrow chisel won’t sit itself on the stone and stay stable like a wider one.
We set out to establish the bevel –
Take a few strokes. Lift it up to have a check. Return to the stone. Repeat.
Every time we lift the bevel then sit it down, we’re guaranteed to place it slightly differently.
The reference surface is just too narrow to re-sit it consistently and so what we end up with is a multi-faceted edge.
This makes it unclear where we need to adjust, and the whole process can be frustrating and unpredictable.
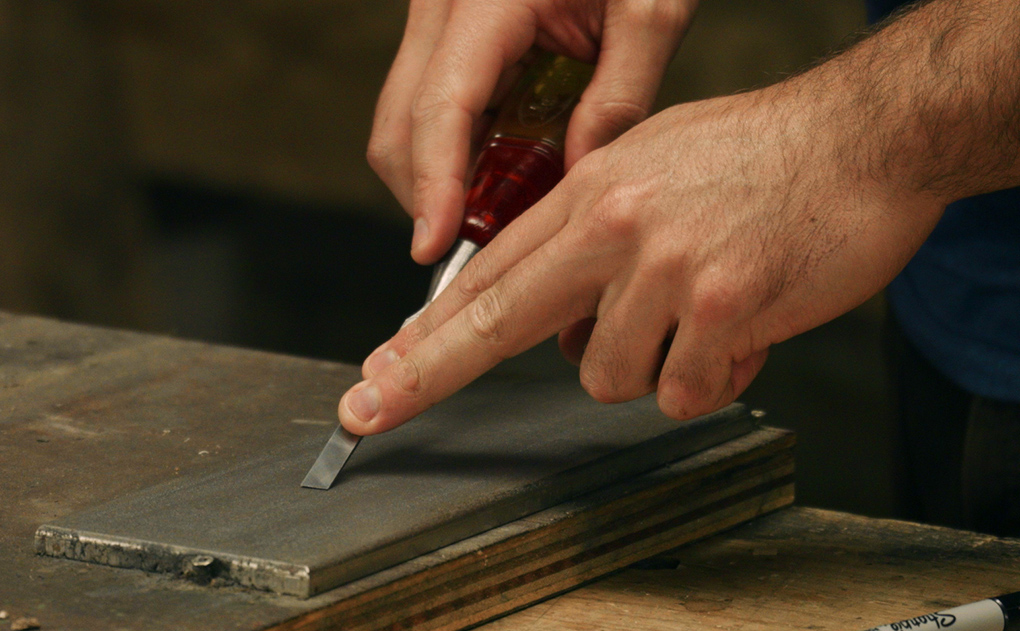
The Solution – How to Sharpen a Narrow Chisel Without the Frustration?
Use the coarsest, fastest cutting stone you can muster up. A coarse diamond is perfect.
Why a fast cutting stone? Because it allows us to completely reset a cocked up bevel in as few a strokes as possible.
The less stokes we do, the less room there is for error.
With a narrow chisel aim to completely re-grind or reset the bevel before lifting the tool to check it.
This is the most important part and it prevents two things.
The first benefit is stopping that whole multi bevel thing.
The second is being able to clearly observe how far out of square you’ve gone.
The Method I Use For Sharpening Narrow Chisels
Spit on the stone.
Re-establish the primary grind, without lifting the tool. (Remember, this is the important part).
Work it long enough that the whole surface of the bevel is completely reset.
Then lift it and have a jolly good look.
It might not be square. But we’ll have a single, straight edge.
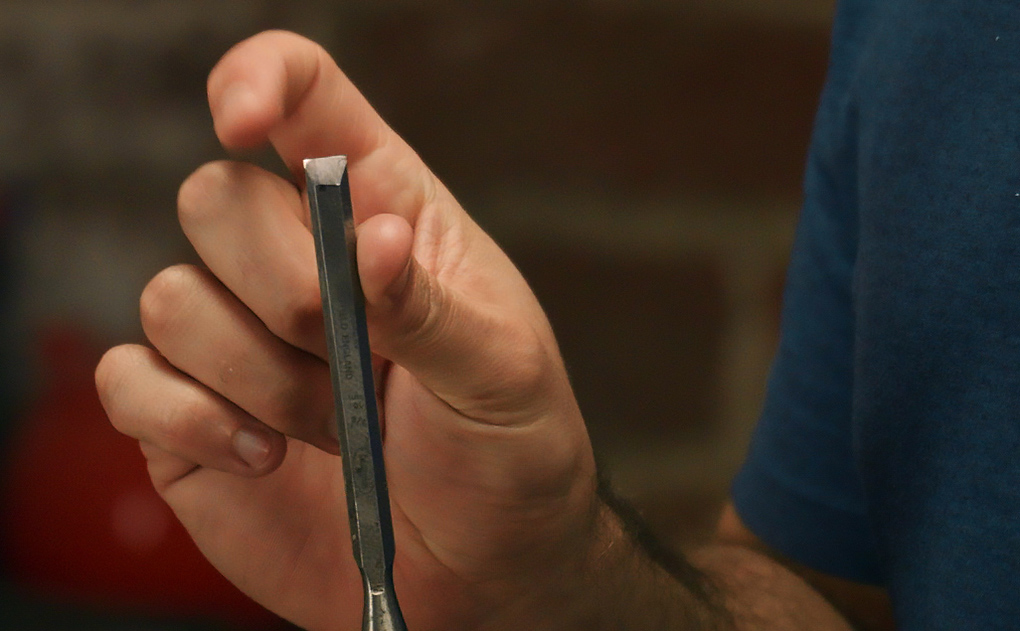
Lets say it’s skewed.
Not by much, but enough to be troublesome.
Sit the chisel back on the stone, trying to feel it that it’s referenced back on that nice consistent bevel you’ve created.
Repeat as before, taking enough strokes to fully re-work the bevel.
The only difference this time is a tad more pressure is applied to the side that needs more material removing.
It shouldn’t take many strokes on your coarse stone to get it fully reset again.
Have another check.
Twice is normally enough to get it right.
If not keep repeating, to sneak up on it.
Every time work the entire edge.
By doing it like this you always have reference and progression on your side.
If you go at it willy nilly instead, the outcome will seem random. Which leaves very little room for you to progress your skills.
With time you’ll get this in less and less attempts.
And having a bit of a system will allow you to develop your skills at free hand sharpening.
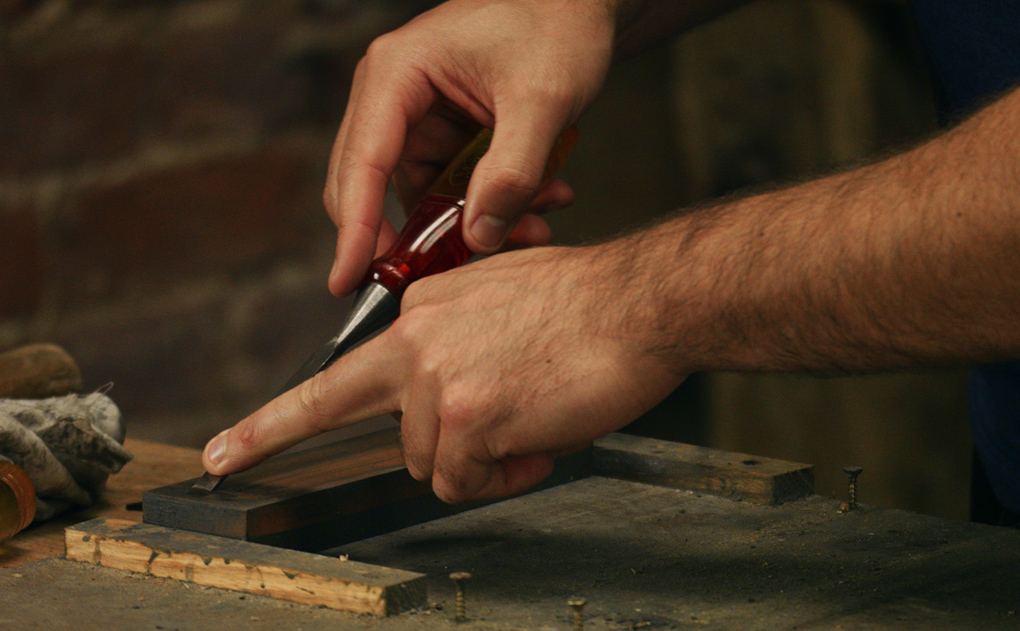
Creating the cutting edge.
To refine the cutting edge we need to now move to a finer stone. Again ensure that the bevel is fully registered before taking any strokes.
It’s still important here to use minimal strokes to reduce the chance of it all going south.
How square should you aim for?
Most jobs won’t care even if your chisel edge is well out of square.
But some jobs, like morticing, will. There’s nowt worse than a wandering mortice chisel!
I only ever go to what’s visually square though. Don’t, whatever you do, get a square out.
You’ll chase your tail ’till the end of time.
A video version of this post has been added to our sharpening series.
All ‘Get Sharp’ customers can LOGIN to watch now.
Or You can Learn More about the Series here.

![How do I Sharpen a Router Plane? [Q & A Video]](https://www.theenglishwoodworker.com/wp-content/uploads/2022/11/how-to-sharpen-a-router-plane-video.jpg)

Most interesting. I have quite a few old hand tools from my father, a builder. Keep them clean and sharp like he teached me.
Jan Storm.