From the first time I traveled to a show to display my workbenches I’ve been meaning to build myself a tool chest for lugging my hand tools along with me. It’s the sort of project that requires quite a lot of thought to ensure everything will fit in nicely so this seems to have been my main excuse for not getting around to building it. Yesterday we were filming our video to demonstrate clinching and to emphasise the usefulness of this technique I decided to build a project that would put it centre stage. It didn’t take me long to decide to build a tool chest since this would be killing two birds with one stone.
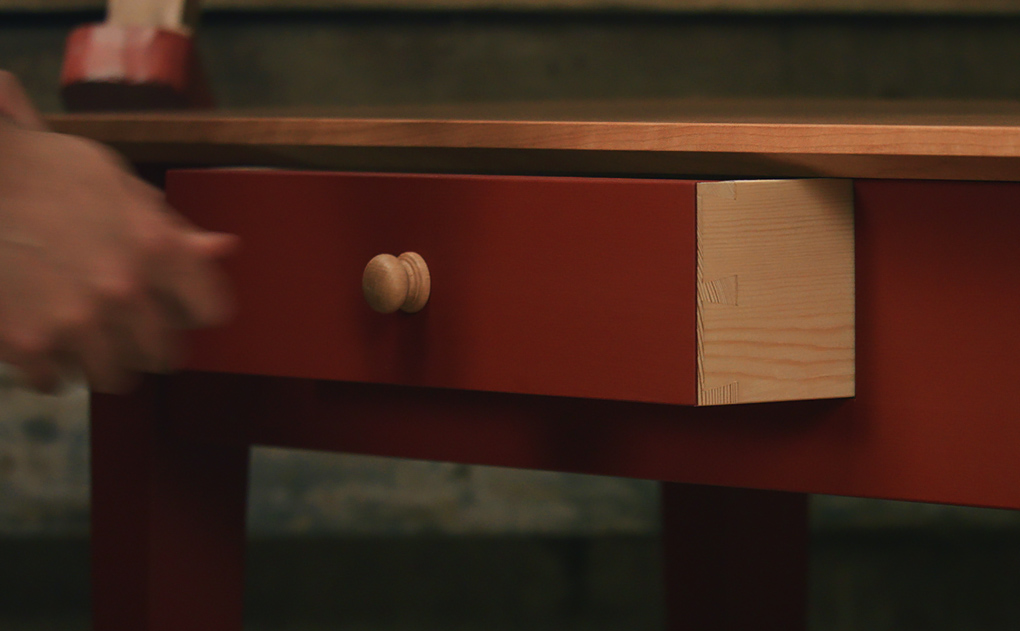
I had no more than Sunday afternoon to design and build this chest and since it would be born from an exercise in clinching it would never be the grand chest which I’ve had in mind for so long. I couldn’t hide the fact that it would be built quickly and with nails so I chose to turn them in to a feature instead – the clinched part would be on show. This worked well for my tools as well because it kept the inside faces of the chest metal free.
The design followed from the construction technique and certainly isn’t an approach to a tool chest that I’d seen before; more weathered treasure trove than grandiose chest. Despite being entirely different to what I had planned I’m pleasantly surprised to have a fully functioning tool chest in no time at all. If you’re in need of a quick answer for storage then maybe you too could start practicing your clinching!
Helen’s busy editing away and we should have the clinching video ready to watch by the end of the week. I’m just wandering whether to try out a bit of distressing on the chest to see if I could add a couple of hundred years.


Looks stellar! Can’t wait for the video!
Richard,
Do you have the schematics on building this chest? Type of lumber,size boards to use etc.
Thank you for a wonderful blog site. Helen and you have done a great job of keeping the reader’s interested. The projects you have shown on video have been enlightening and a real learning experience for a novice such as myself. That is why I wanted the schematics for the chest, so I can try and I emphasize try, to make this. Happy holidays to you both and to all of your family and staff who makes these pod casts possible.
~Dolly Miconi
USA
Hello Richard
Would you be able to recommend nails for clinching? I was planning on building some boxes in a similar fashion and need some 4d 1 1/2″ nails to give it a go.
Hi James, In this build I’ve just been using some oval nails straight off the shelf from the merchant’s. These are great for practicing because they bend easily in one direction due to their oval shape.
Thanks Richard. I will give them a try. Definitely sounds a lot cheaper than importing them from the US!
James, there are several suppliers online of hand forged rosehead nails here so (for once!) you don’t have to go to the US, they are sold by weight (Kg). You might have to shop around as the prices seem to vary considerably.
That chest looks great Richard, I love that colour. It looks like graphite, what did you use?
Forgive me if I’m wrong but aren’t rose head nails different from cut steel brads as they have a larger shank?
If you can effectively use them for clenching then I might give them ago!
You are right James as they are bulbous along the shank, but they are designed (as far as I know) for clenching. There is a video on YouTube of a company who make oak doors and use rosehead nails knocked right through and then folding them over on the rear side.
Thanks Vincent, the finish is actually some old paint that we had left over from the floor so it’s nice and durable. The colour has some fancy and obscure name (midnight jewel 3??) but yea, it’s basically a graphite type grey.
Wow I really love that chest, look at all the texture from the tool marks as well as the nails. I’d be proud to own it!
Richard,
So even with an 18 month head start you still beat me!
Thanks very much 🙁
Stephen.
Ha, that’ll be because you have a life outside the workshop! Oh, and mine’s nailed together.
Thanks for this one Richard. I like the chest buddy, good job. 😉
This looks very nice! How are you going to lift it ? Are there rope handles at the end ? And what fixings do you use to prevent the bottom falling off ? All no doubt explained on the video. Yet another excellent project from your workshop.
Chris,
France.
Thanks Chris, the handles are still a work in progress, I’m thinking about using oak battens each side and then incorporating a leather strap to go over the shoulder. The bottom is nailed on but I’ve used a few angles to keep it in place. I’m quite pleased with how it turned out in the end and it’s given me a lot of ideas for some future pieces of furniture.
Hi Richard and Helen
I love the look of this chest, and the paint finish just sets it off. Picking up on an earlier thread: as “some sort of forensic scientist” made me think about one of the guiding principles that we use when identifying an item:
Two items may be indistinguishable but no two items are identical. The question is simply whether we have sufficient ability to distinguish between two objects with the information provided or with the measurement tools available.
I think there is no doubt that each chest will be an individual, and easily spotted if it were the subject of one of my investigations!!!!
Back to the shed!