If you know anything about the way that I work then you’ll know that I don’t like to faff.
I will always do a proper job though, in fact I tend to do things somewhat overkill. But when it comes to the tools and techniques used I’ll always find the most basic and simple route.
I’m no different when it comes to timber movement.

The English workbench design can make a lovely fast build – partially due to the lovely wide boards used in the construction. But these bring their own concerns with regards to timber movement, so it’s a great example of how to allocate for movement within the build process.
For many timber movement is a huge area of frustration. It’s as though the wood is alive and forever trying to undo your work. The more you try to control it, the more you end up chasing your tail.
You can loose sleep measuring moisture content and wait for years for things to acclimatise, but often the more you fret, the more it seems to disobey you.
It could be a warped board that’s ruined your most pristine efforts at cutting dovetails before you could get the glue on.
Or a beautifully polished top that you’ve had a fight with to smooth, and now you’re watching it split apart before your very eyes.
There’s a whole host of problems caused by timber movement. And a greater number of possible solutions depending on the situation.
But one thing I’ve always found is that the more you approach this problem with fine instruments – the type used by an engineer, the more likely you are to get a headache.
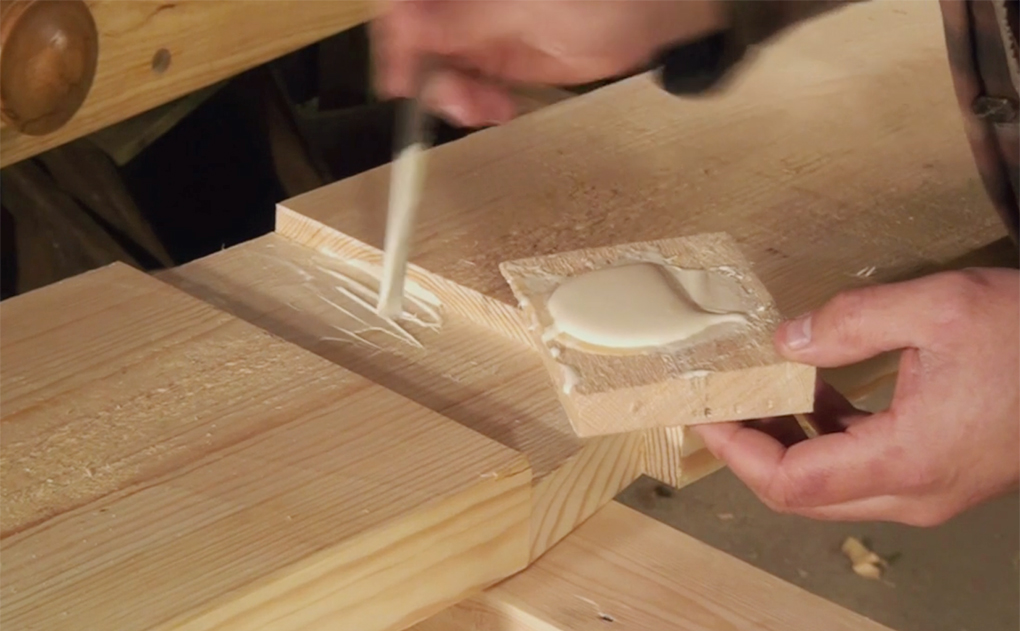
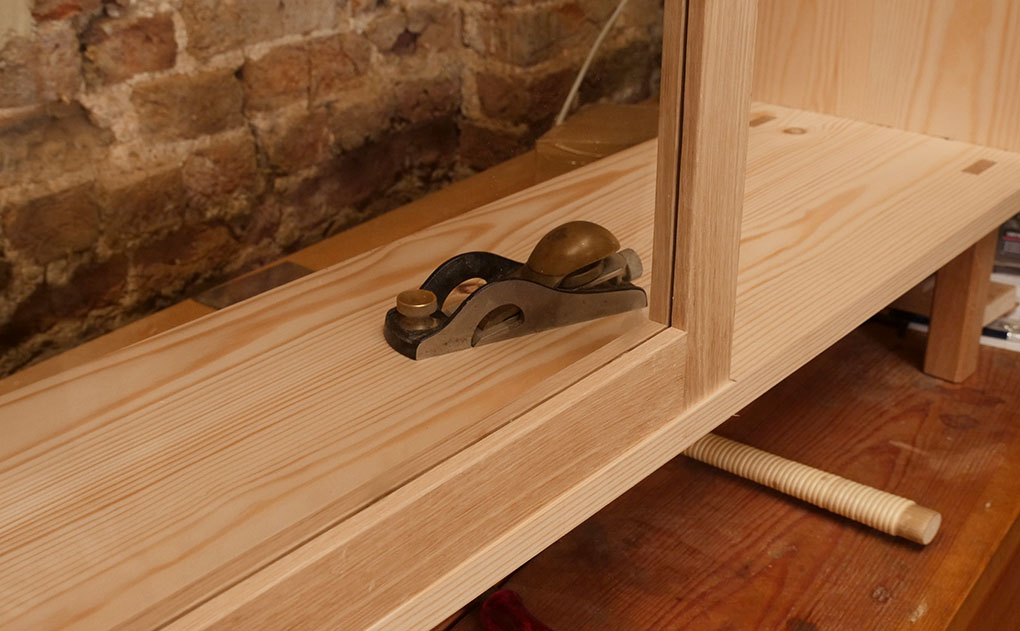
When gluing the aprons on to the English workbench the glue is only applied to the top of the joint. This is a tip you can make use of in various situations where you want to control the direction of movement.
Designing For Timber Movement
It’s much better to fathom a way to work with the wood, rather than hoping to control it.
It will always move, there’s no stopping that.
It’s a topic I’ll probably come back and cover in various ways, but for today I wanted to use the English workbench as an example, as it’s a subject we’re often asked about.
With its wide loaded construction this design of workbench could appear to be a bit of a timber movement nightmare.
My first answer to this is to build it in softwood – it’s much more elastic and gives a huge advantage here.
But we can also just get a bit more clever with the build.

Nails are a great at fixing things in place whilst allowing some flex.
The English Workbench & Timber Movement
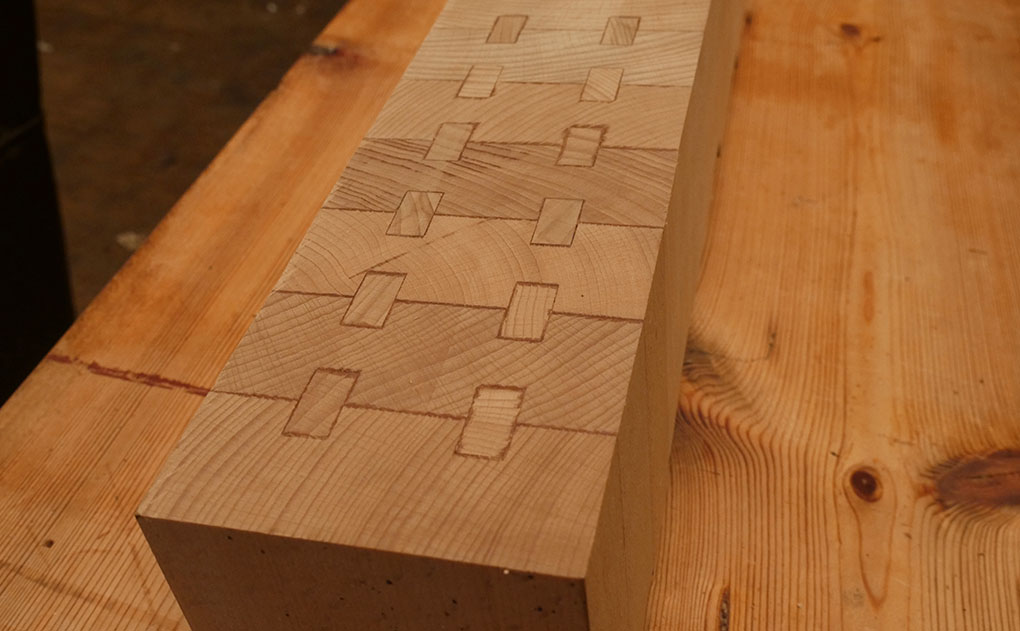
The front aprons are a good example of where we can think our way around timber movement. If they expand upwards then they’ll lift the top and cause us all sorts of grief down the line. So the trick here is not about trying to stop timber movement (that’s impossible) but instead we deliberately make sure that all that movement goes downwards.
The approach to do this is to allow an expansion space at the bottom of the joint, an 1/8″ or so in the notch that we cut in to the leg. This is plenty of space to allow the apron to come and go as it likes.
The next precaution is to put glue only on the top portion of the joint. Covering maybe a third to a half.
This fixes the top portion solid, where we don’t want to have anything moving. But it also allows that apron to expand in to the bottom of the joint. This can then be helped more so by fixing the whole joint with nails as they’re flexible and will allow the wood to move.
You can’t do a lot to stop wood from moving, but with some simple understandings you can put that movement into your favour.

Several years on and the workbench is well used and beat up, but no sign of any issues from timber movement. Everything is where it should be.
Learn more about this design of workbench in this post about its construction.
Or you can follow the full build of this workbench step-by-step in our detailed build videos here.
And if you’d like some more thoughts about the quirks and behave of timber, then read this post about considering grain direction when gluing up panels.

Great post Richard!
I love your focus on simple and avoiding overcomplicated scientific nonsense.
BUT…
HOW do I know what is a design that is going to be good for dealing with the timber movement? Are there any good books to read about it? Or how did you learn?
The words are wonderful and the advice is excellent.
I do however miss your “Rant ‘videos . cheers Paul
Me too!
100%
Normally I would spread that glue around without thought for the point you have made, but have taken on board what you have said and in the future will allow hold back on the glue, and make sure there is room in that mortice for expansion.